A wet room is a type of bathroom where the shower is open or installed behind a wall. With the floor of the shower being the same as the flooring of the rest of the room, this means that a drainage system is installed within the design of the flooring. This type of bathroom is entirely water proof. Many people choose this style of bathroom for its modern and stylish qualities, added value to property, more flexibility in design, affordability and maximised space.
Designing a Wet Room
There are two different types of flooring that you can get with a wet room style bathroom. These options are either timber or concrete. With timber flooring, they will be fitted with a gentle slop to allow for the drainage of water. Concrete flooring, on the other hand, has the drainage system installed in the floor before the screed is poured.
It is also essential that you take waterproofing into deep consideration, as this is vital for maintaining the quality of the room with the humid conditions. A wet room needs to be completely watertight. This can be done by using a waterproof membrane underneath your tiling, such as; screedsafe membrane and tilesafe membrane.
Wet Room Tanking Process
The ‘tanking’ process is one which is essential to get right at each and every step. When you are inexperienced with this process it can be difficult to have a completely watertight environment. This means that moulding could occur and the room may also suffer from water damage.
Priming
The first step to waterproofing your room is to make sure that the room is entirely clean and dry. Priming is a key step for both absorbent and non-absorbent floors.
Reinforcing Tape
Reinforcing tape is used to add strength before you apply the waterproof membrane in your wet room. This tape should be applied over main joins, edges, corner and any areas where the floor and wall meet. Electrical pipes need to also be sealed with tape carefully.
Waterproof Membrane
Before applying the waterproof membrane, you need to make sure that the primer is completely dry. The membrane should be applied all over the floor, starting from the shower area. A special wall membrane should be applied on the walls and especially in areas within the shower area and wall junctions.
After these steps have been correctly done, and drainage has been installed properly, then you can start to tile your wet room and install the other units.
Get your Wet Room Installation Arranged Today!
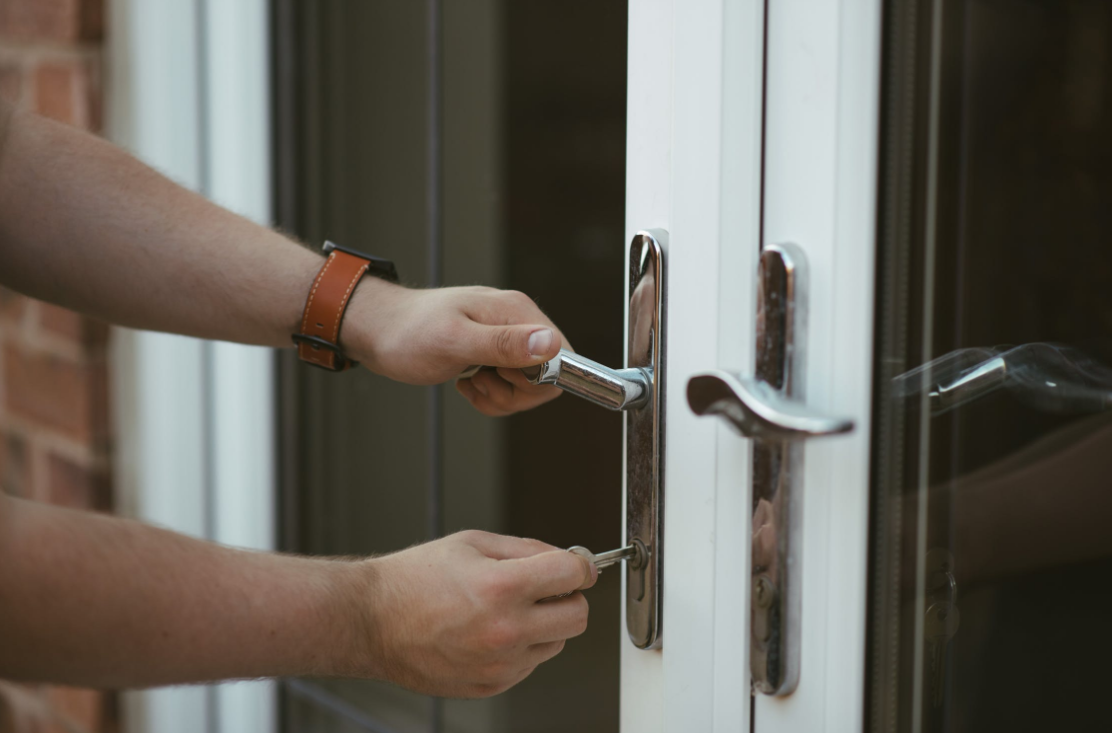
At Trent Valley, we have a team of professionals who are experts when it comes to the installation of wet rooms. Generally, a wet room should be installed by people who have the knowledge and experience to ensure the highest quality and to make sure that the wet room is entirely watertight. Get in touch with us today and we will be more than happy to discuss your options through with you.